The Blue Box Treatment Kit is your complete solution for restoring HVAC coils to peak performance. Follow these steps for safe, effective, and consistent results on every job.
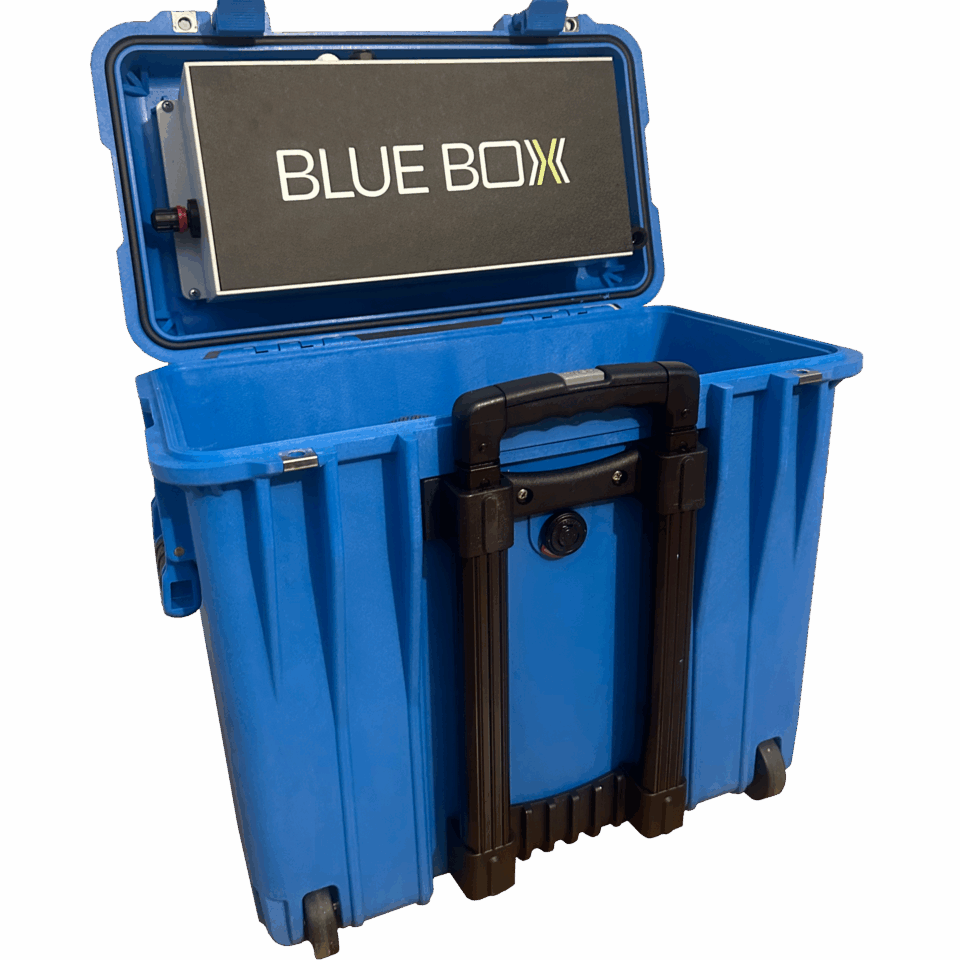
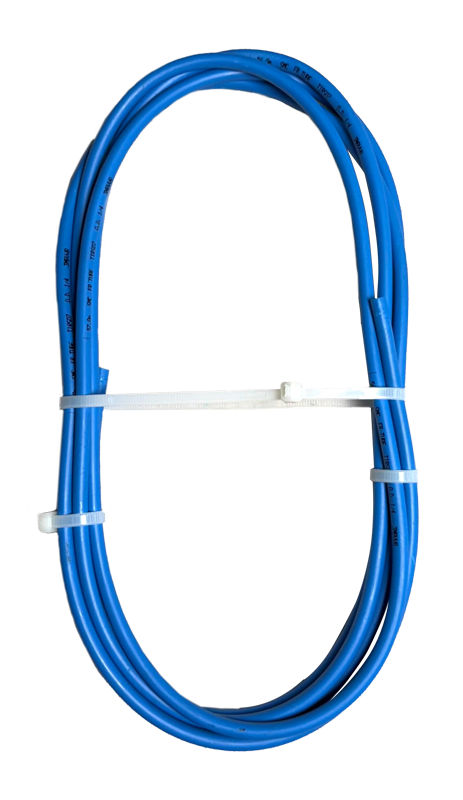
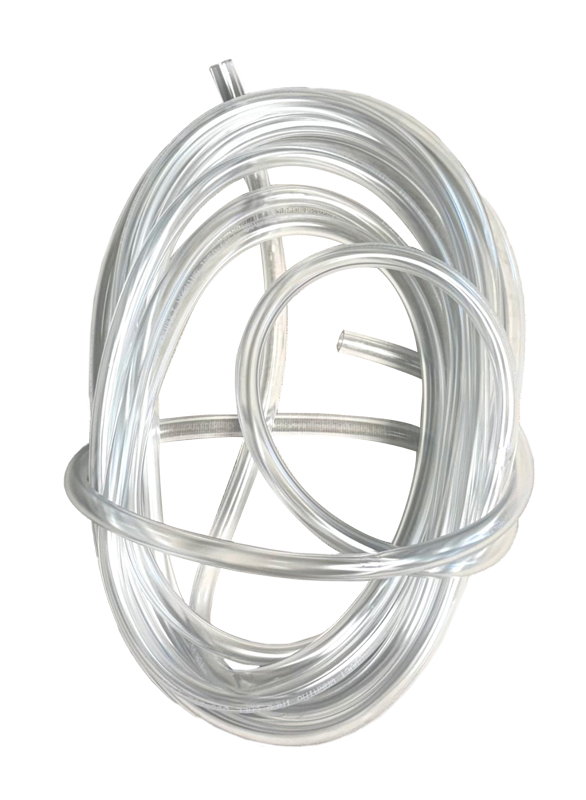
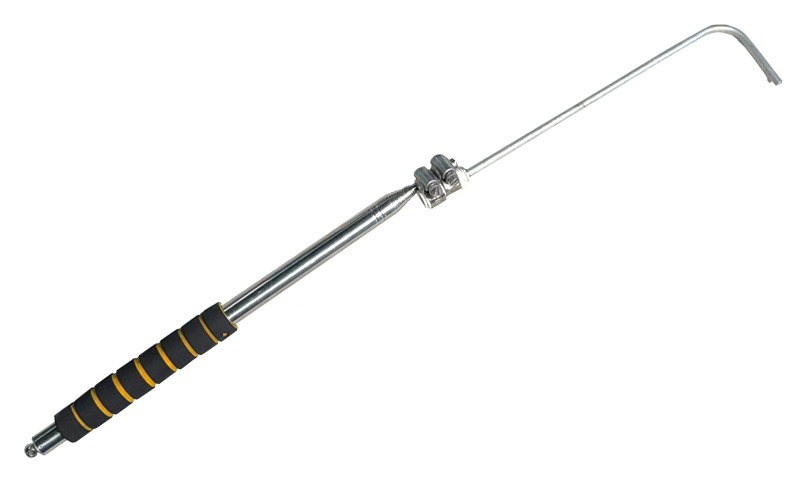
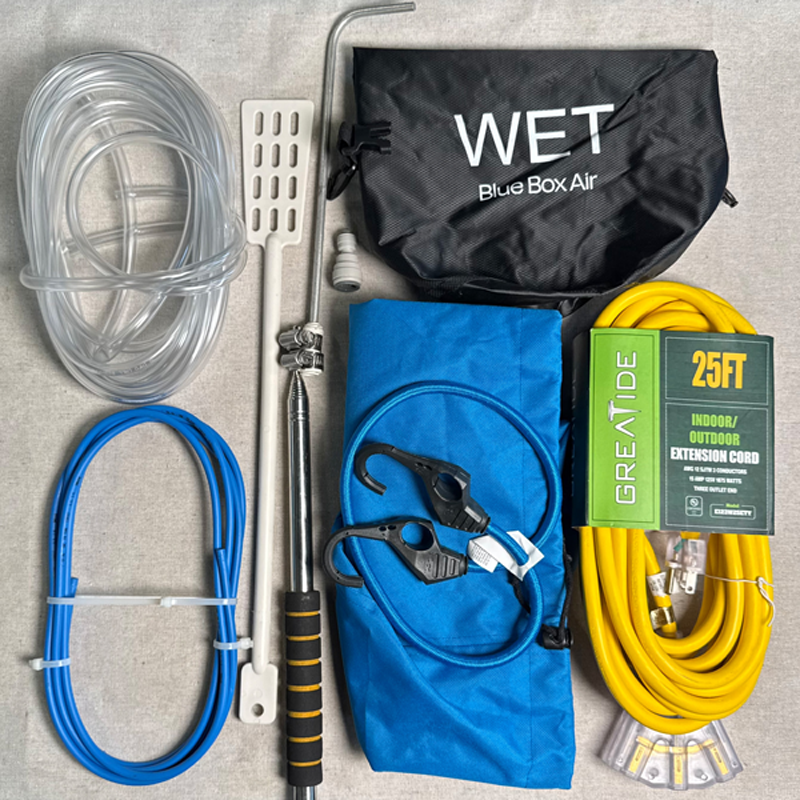
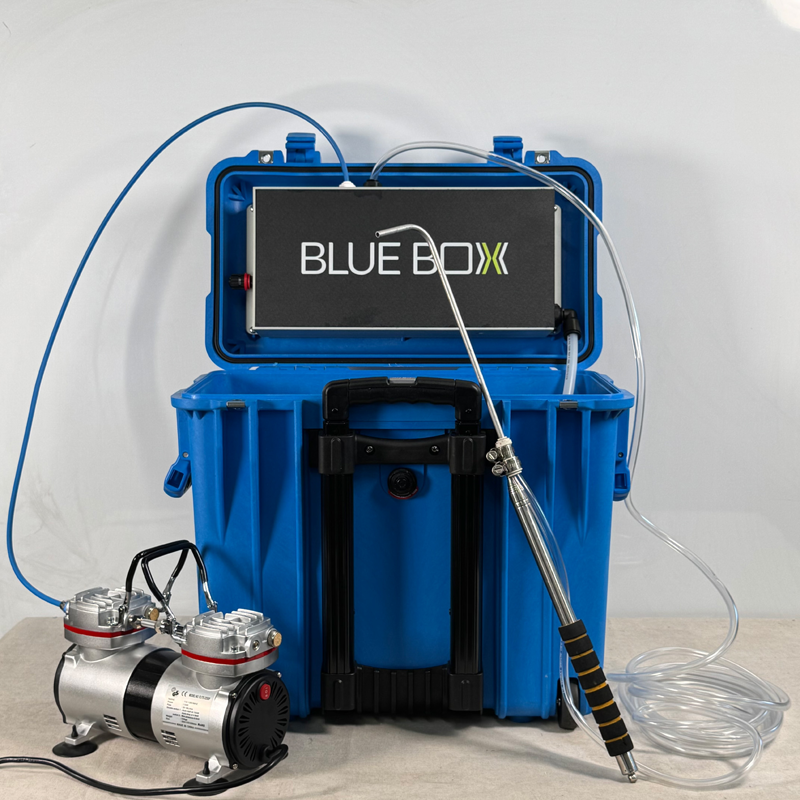
Blue Box Contents
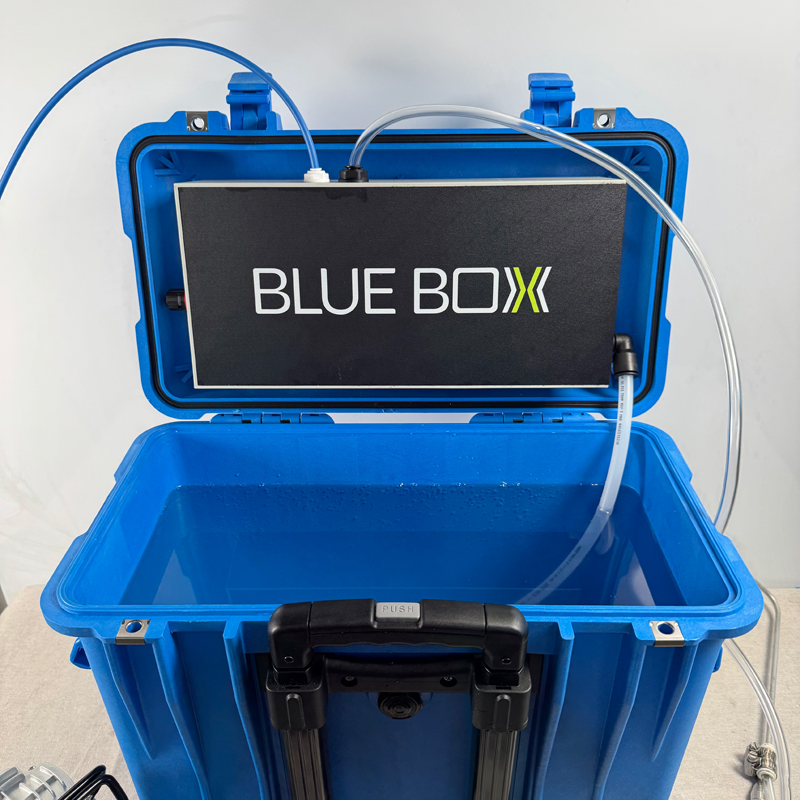
Blue Box Case
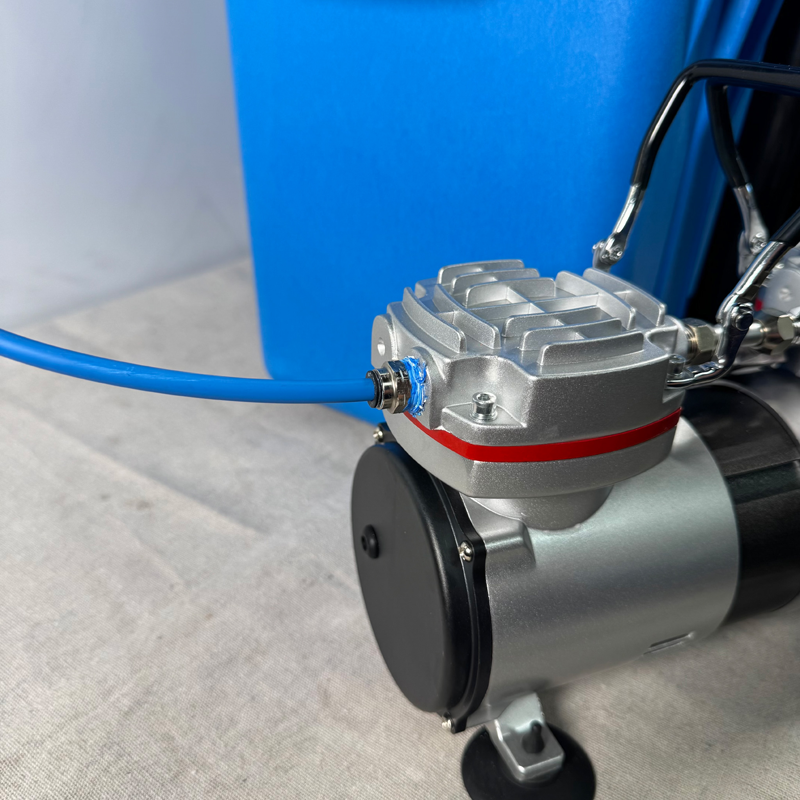
Compressor
Air line – ¼” OD
Foam line – ⅜” OD
Bungee Cord
Extension Wand
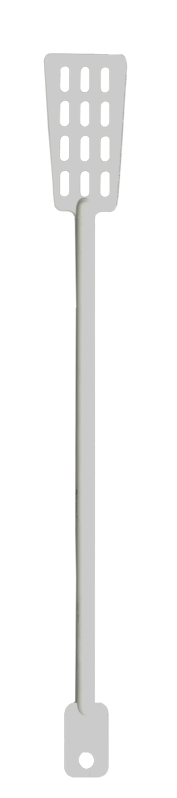
Mixing paddle
Set Up
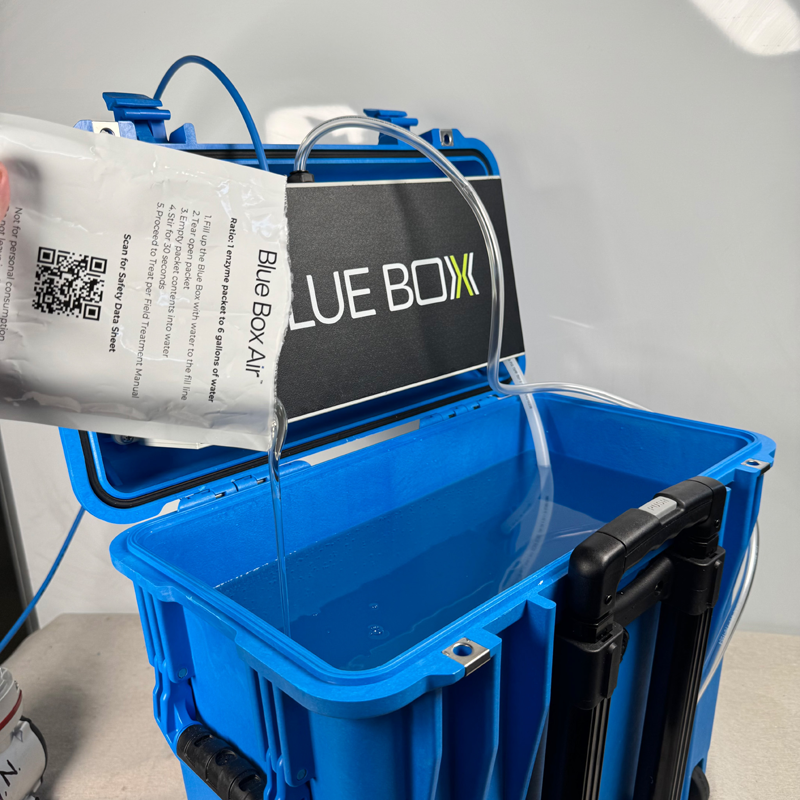
Remove contents from BB system
Fill with water to lower hole level
Add 1 enzyme packet – enzymes will sink to bottom, want to mix thoroughly with paddle
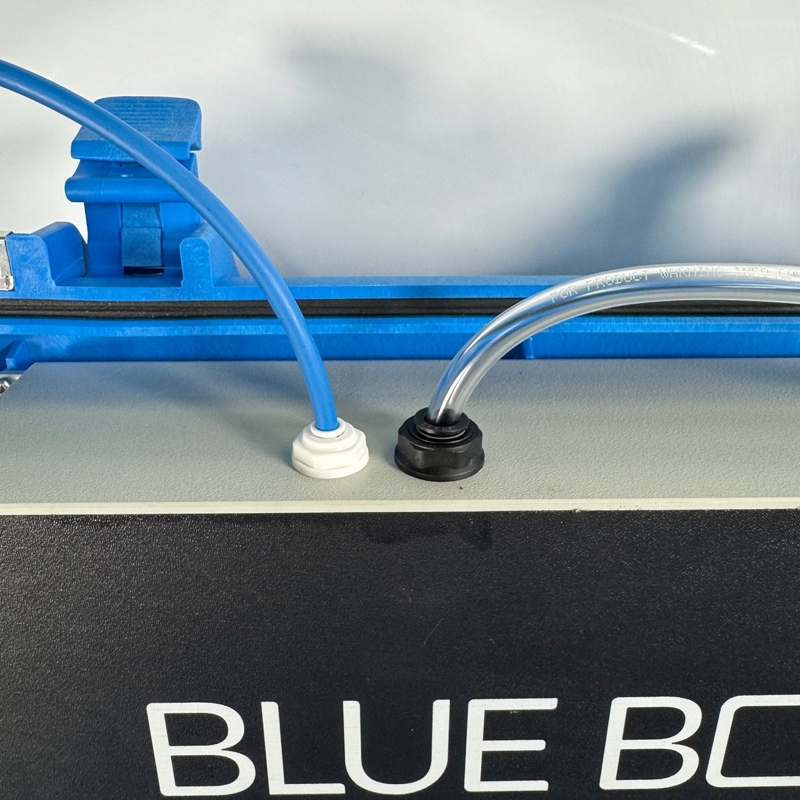
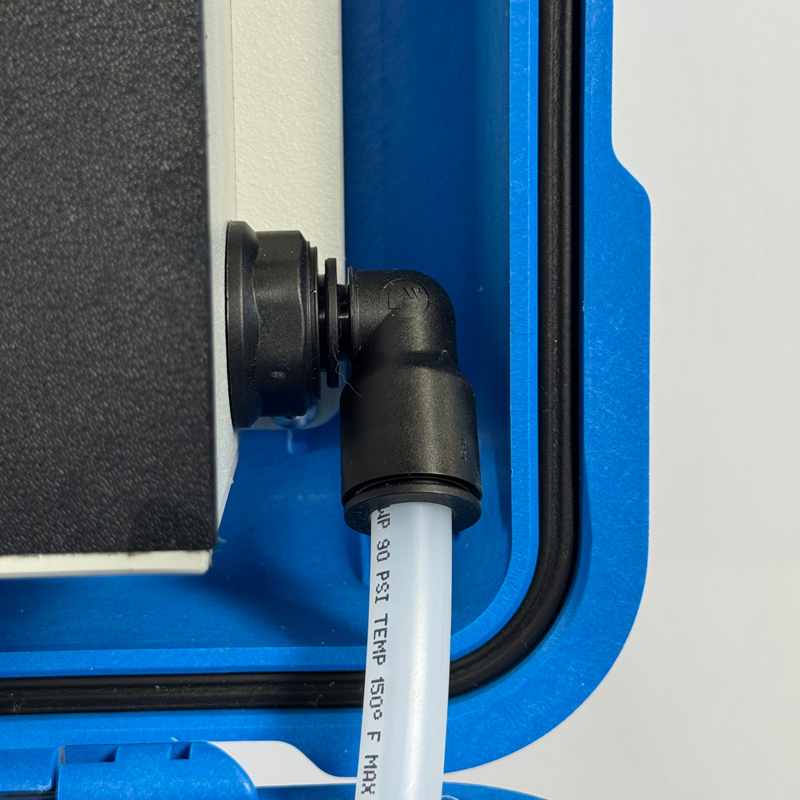
Connect Blue ¼” air line to ¼” push connect on top of control panel
Connect Blue ¼” air line to ¼” push connect to air compressor
Connect ⅜” foam line to ⅜” push connect on control panel
Connect ⅜” foam line to ⅜” push connect on wand
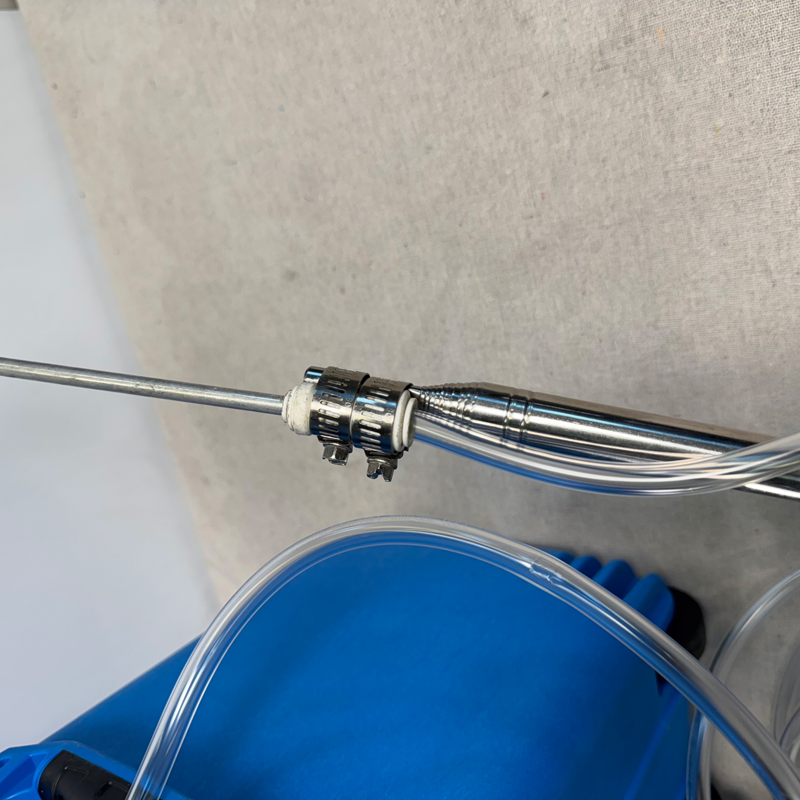
Connect ¼” aluminum curved tip to ¼” push connect on top of the wand push connect
Making Foam
Locate the control dial on side of control panel If one turns the dial downward, this will increase the pump rate and will produce juicy foam or go to pure liquid if all the way down.
If one turns the dial upward, this splits the air stream and begins mixing the enzymes and air so it starts to create a foam
If one turns the dial all the way to the top then the pump will stop and you will only get air.
Target is to achieve a pump rate of one beat per second (roughly) and achieve a consistent thick foam.
When dialing in foam once it starts getting thick, tiny adjustments makes a big difference. Go slowly and wait a few seconds because the changes must flow through 20 feet of foam line before you see the effect from the box to what exits the line.
Wrapping Motors
If the motor is close to the coils (3 feet or close) then wrap the air intake side of the motor with the motor wrap.
Step one – Turn off the air handler – do not attempt to wrap motors while system is on.
Step two – Place motor covering over the air intake side of the motor.
Step three – Use bungee cords to ensure the motor wrap is secure and will not come off when the air handler is turned back on.
Step four – Once the motor has been wrapped and secured, turn the air handler on while the door is open and watch the system as it ramps up and ensure the wrap will not come off.
Step five – Remember to remove motor wrap after a coil treatment, do not leave the motor wrapped once done treating the coils.
Shooting Coils
Assess the Coil Thickness – How deep are the coils as well as what is the fin density?
Motor Location – ID where the motor is located and how close is it to the coil. If within 4 feet of the coil, then one should wrap the motor.
Hertz – Check what hertz level the system is running at. If at 60 hertz, then its fully ramped up. The lower the hertz level the slower air is moving through the coils. This will affect how you shoot the coils via foam density.
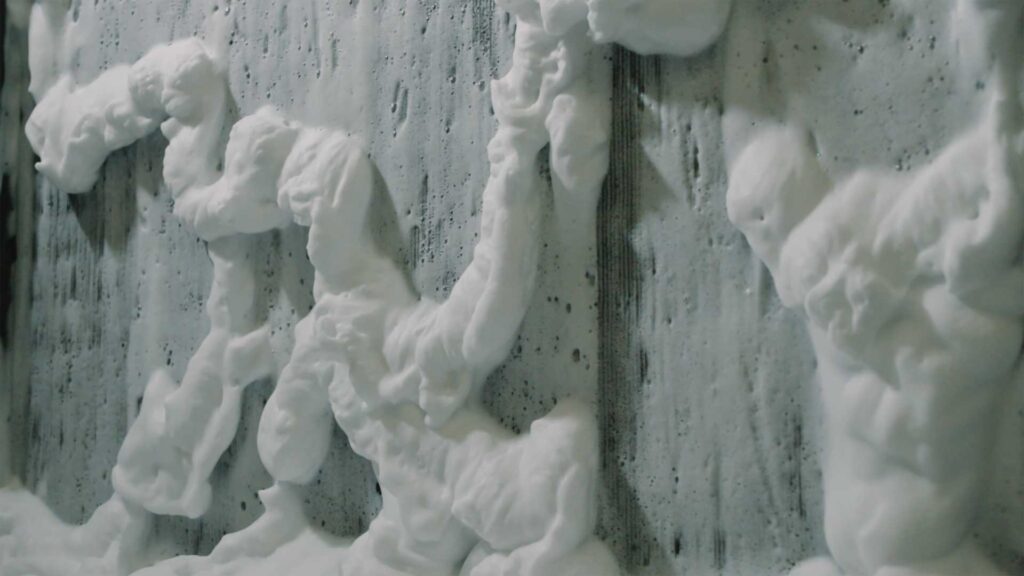
Foam – First apply foam thick and observe how quickly the foam absorbs into the coils. If the foam sits on the outside of the coils and barely absorbs in, then begin to make your foam juicer.
Caution – If you shoot too much juicy foam into a coil it will come out too quickly out the back end as big bubbles. The ideal approach is to inject thick, then a little juicy, then thick again. You want to penetrate the coil, but also want the foam coming out thick so it sticks to the backside of the coil.
Timing – When shooting a new coil, focus on one section of the coil (roughly 12”x12” space) until you achieve breakthrough. You want to assess how much time it took to penetrate the coil. Once you know this then you will know your rate of progress on shooting sections.